After replacing new tire pressuring sensors or new tire pressure monitoring control module ,you need to perform programming. So here Obd2tool.com show you guide on how to use Launch X431 to program TPMS for FIAT Freemont 2014.For more Fiat repair,please check here:FIAT Trouble Repair

What You Need?
Precautions
To run this function correctly, ensure the following conditions:
1.The vehicle is equipped with tire pressure monitoring module and the module is in normal communication. The ignition key is in the ON position. All wires and connectors are properly tightened. The communication fault may occur in poor condition or low battery of the car.
2.The gear selector must be in P position.
3.The sensor ID on the label on the back of the sensor must be entered exactly.
Operation Instructions
Access the vehicle software via the X-431 Pro series diagnostic device, select the correct model,and then enter the special function of the tire pressure monitoring system. Click to enter the Program tire pressure sensor function. After enter the sensor ID on the label on the back of the sensor must be entered exactly, the tire pressure sensor calibration has been completed. There are four special functions in the Program tire pressure sensor function:
Program left front tire sensor ID
Program left rear tire sensor ID,
Program right front tire sensor ID
Program right rear tire sensor ID
The following is to describe how to carry out this function via the Program left front tire sensor ID function combined with the (Menu path) figure.
1.Select Fiat V34.51 or above;
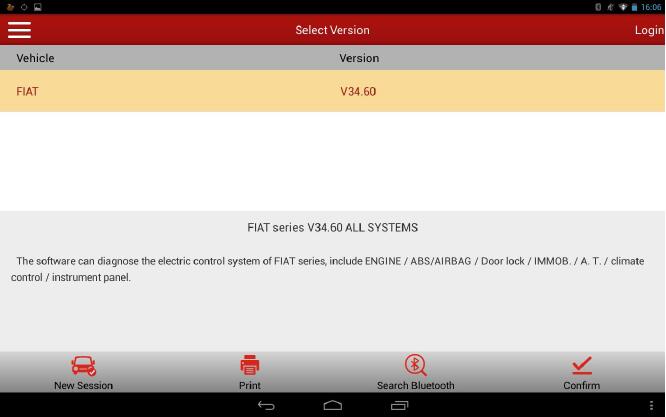
2.Select Manual Select;
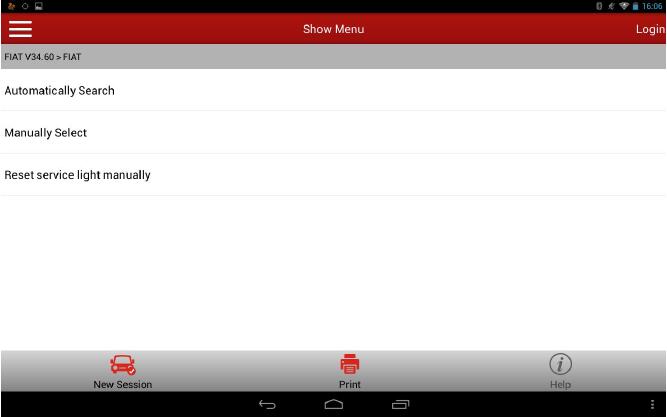
3.Select new model (such as Freemont, 500L, Viaggio, etc.);
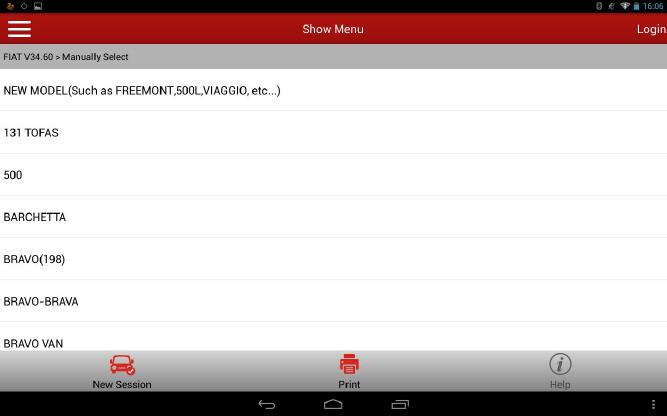
4.Select Freemont model;
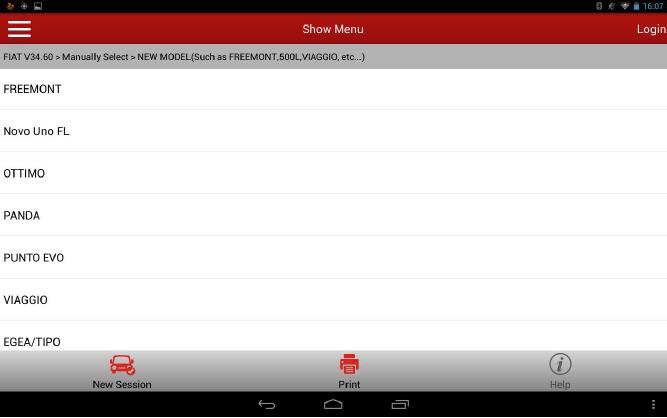
5.Select 2014 model;
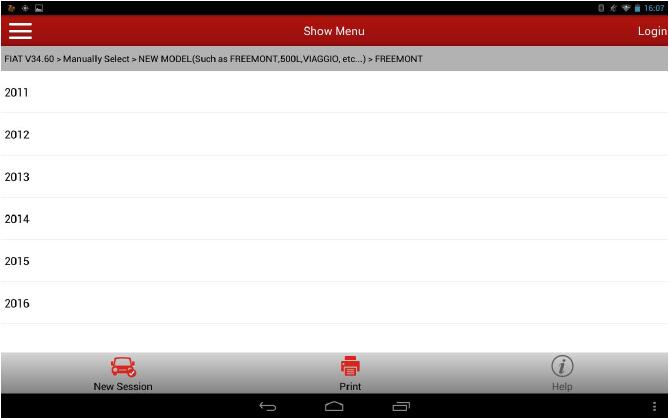
6.Select System Select;
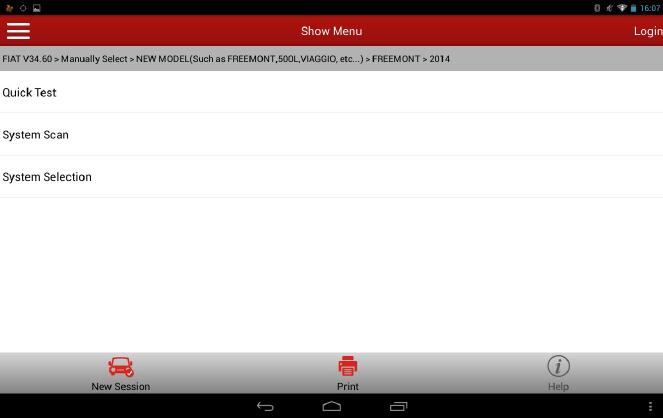
7.Select TPMS (Tire Pressure Monitoring System);
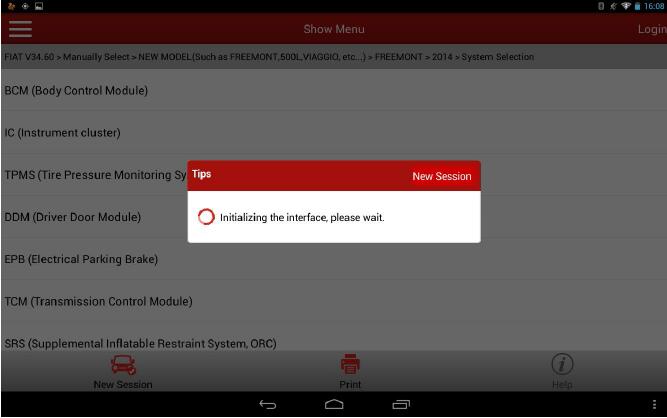
8.Display the system version info of current vehicle model;
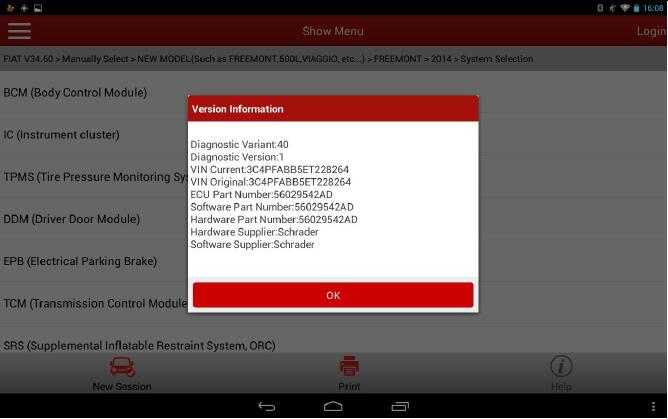
9.Display the system function menu, and enter into special function;
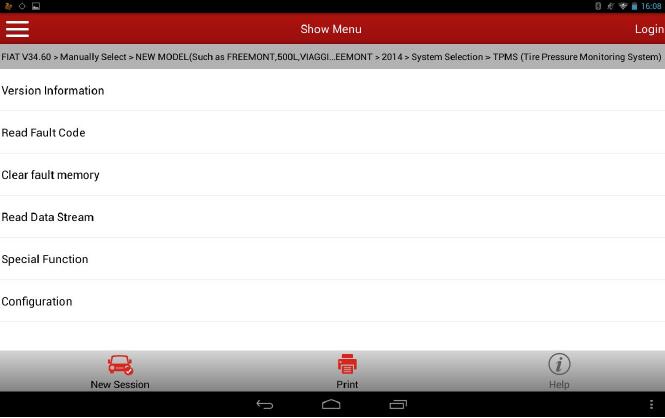
10.Display the multifunction and system test menu, and enter into multifunction;
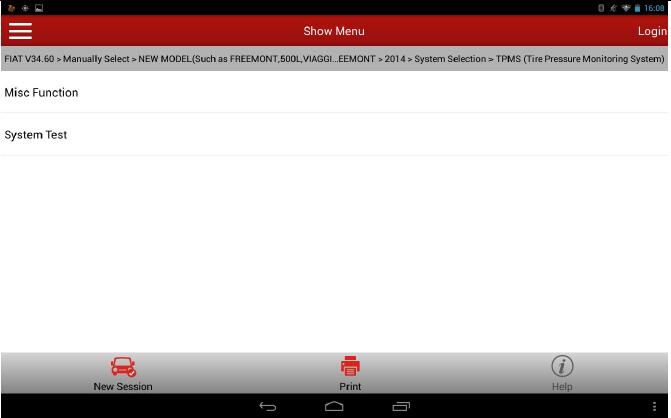
11.List the special function menu of the tire pressure monitoring system, select ‘Program left front tire sensor ID’ function (Here takes the Program left front tire sensor ID as an example, the programming method for other tires is the same);
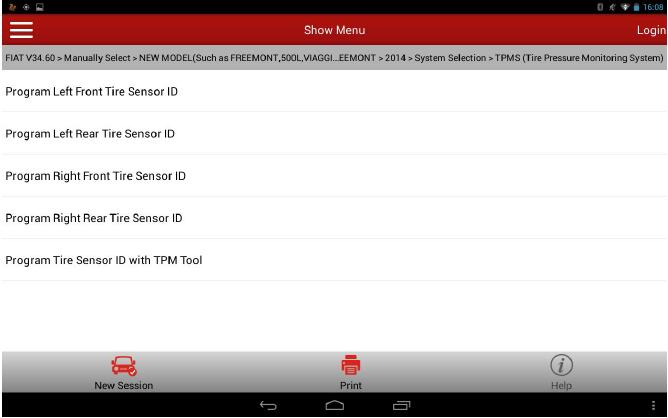
12.Access the Program left front tire sensor ID function, and then indicate the info before test
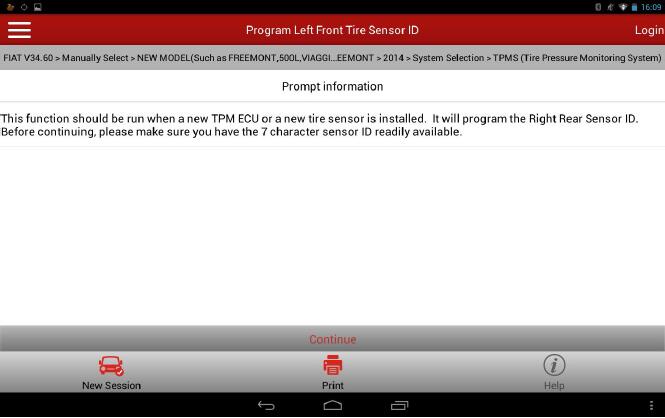
13.Indicate the precautions before testing the Program left front tire pressure function;
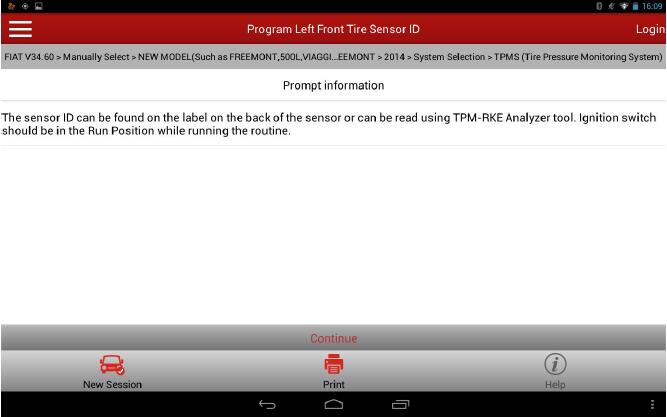
14.Indicate to read and enter the left front tire sensor ID from the label on the back of the sensor;
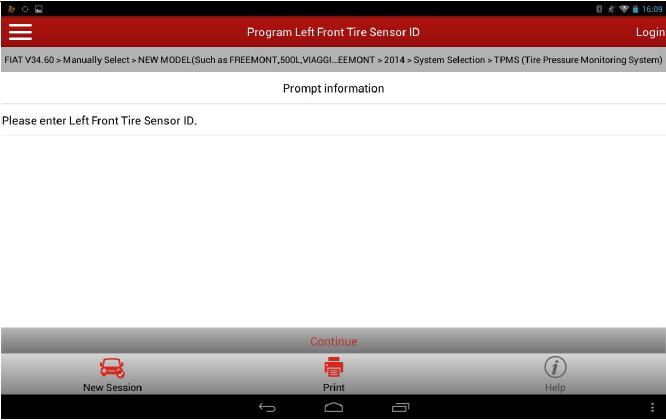
15.Click [Continue] to manually enter the front left tire sensor ID. (Notice: While entering the ID, the legality of the length and the letter case of the ID will be determined, which will be required to enter again if they do not meet the requirements);
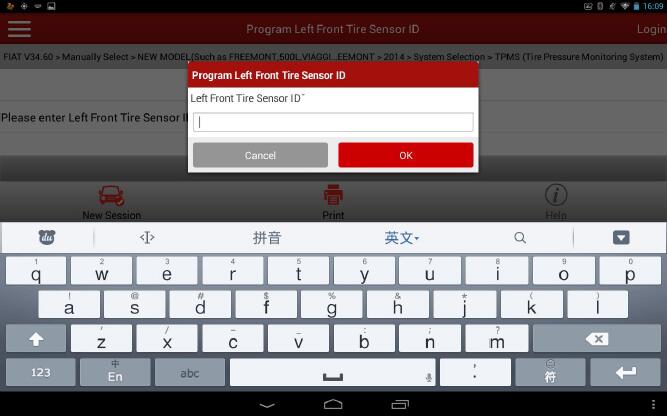
16.Enter the left front tire sensor ID;
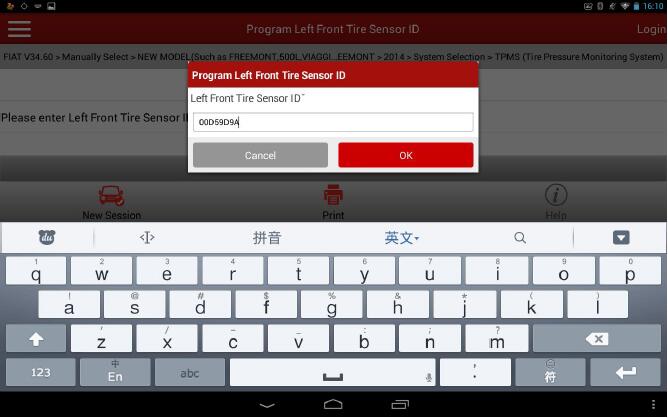
17.The program will judge the entered ID is not illegal (The length is 8), and then indicate to enter again
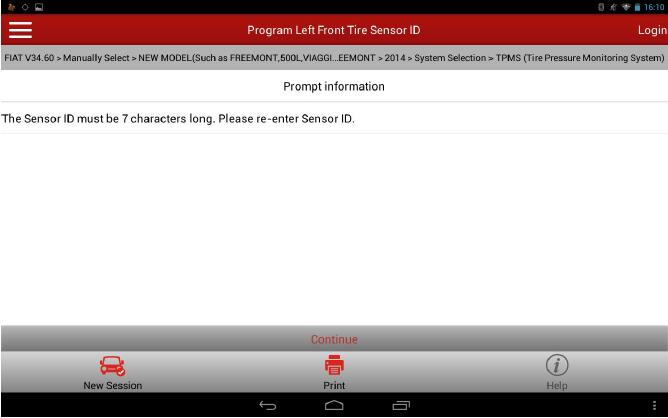
18.Enter the left front tire sensor ID again
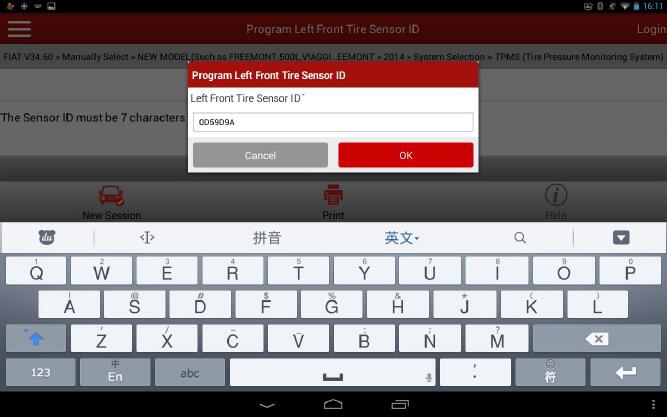
19.Enter the left front tire sensor ID, and then click Confirm;
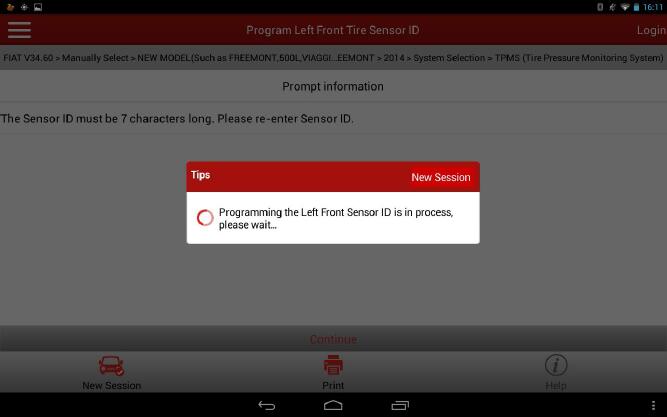
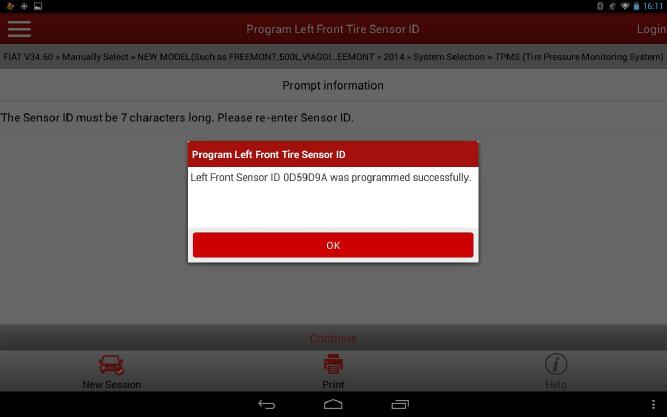
20.Indicate ‘Successfully programmed the written left front tire sensor ID’;
21.The Program left front tire sensor function has been completed. The operation methods for Program left rear tire sensor ID, Program right front tire sensor ID, Program right rear tire sensor ID and Program left front tire sensor ID are the same. Respectively enter the corresponding tire sensor ID exactly. There is no more description for it.
More test report about Launch X431 please check:Launch X431 Test report
Comments
Post a Comment