
Digimaster 3 change mileage on 2005 Toyota Corolla


We received a problem from our customer when he wanted to use Yanhua Digimaster 3 to adjust mileage for his 2005 Toyota Corolla. Here share the relevant solution with you. Hope helps you.

Digimaster-3-change-mileage-on-2005-Toyota-Corolla

Problem:

I don’t know how to use. I tried to adjust odometer on Toyota Corolla. First ask me device module 2 keep says can’t find the device. Can you tell me how to do it simply?

Solution:

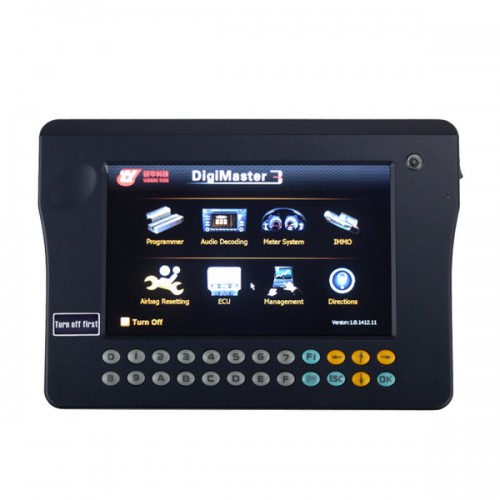
Open Odometer Correction Tool Digimaster 3 home page

Select “Meter System”-> “Asia”-> “Toyota”

Choose the corolla 2005 vehicle model and enter next step

The system will prompt what chip is.

Find the car chip and check whether it is consistent with the prompt or not

If it is, disassemble it and weld to OBP adapter

Connect with digimaster 3 to read data

And follow the prompt to change mileage

Done!

Comments

Popular posts from this blog

Xprog 6.12 5.84, 5.74, 5.60, 5.55, 5.51, 100% Works Software Free Download

Free download the newest Xprog V6.12 , XPROG 5.84 , XPROG 5.74 , XPROG 5.60 , Xprog 5.55 and XPROG 5.51. 1.XPROG-M 6.12 free download: Link 1: https://mega.nz/#!625RxAqJ!Y7IInI5ZhG3titLMPnFOvALbOa2RHIp7ENG2o4PIzag Password: No need Link 2: https://share.weiyun.com/5m5Vkw0 Password: fxo5qz Xprog 6.12 XPROG V6.12 installation video: XPROG-M V6.12 Using tips and installation guide: https://www.obd2tool.com/blog/2020/02/29/how-to-use-and-install-xprog-v6-12-on-win-xp-win7win8/ 2. XPROG V5.84 free download: https://mega.nz/#!7vpDwQ4D!MrdDW0tVf-6-wXtGKqpUmj7CA2HFlFlMf5AeNvYgRbI Tips for installing Xprog V5.84. 1.Disable anti-virus program when downloading software and running software. 2.Uninstall all the software and USB drivers of the old version xprog-box on your computer, then install the new XPROG5.84 software. 3.Run 5.84 Regsisty program for several timeswhen installing software 4.Run 5.84 Regsisty file for 2 times before you run software everytime . ...

How to setup BMW ISTA/P Loader for ICOM A2 ENET cable K+DCAN adapter

The text here, as a user manual of BMW ISTA/P Loader / ICOM Emulator,  is aimed to help those puzzled with ISTA/P Loader setup for  ICOM A2 , ENET cable, K+DCAN  USB interface. Note: all info here not original, shared by a forum member So try at your own risk! Main content: Part 1 – Compatible device Part 2 – Latest ISTA/P Loader update information Part 3 – How to install ISTA/P Loader v4.x Part 4 – How to use  ISTA/P loader with ICOM A2, K+DCAN cable, ENET cable Part 5 – How to shut down ISTA/P Part 1 – Compatible device: ISTA/P Loader compatible with ICOM A2 (OEM or clone), K+DCAN USB and ENET   Part 2 – Latest ISTA/P Loader update information: NEWEST – ISTA/P Loader V4.8  update info: Free download BMW ISTA-P Loader V4.8.7 to get all new info yourself …… ISTA/P Loader V4.2 update info: Custom resolution option added Improved detection of bmw scan tool ISTA-P install location. Improved compatibility with windows 10 Code...

How to setup ICOM Next A WLAN connection

  ICOM Next  Wireless diagnostic 1.Set router wireless, wireless SSID name:ISAP,password:autosvs12345 2.Set ICOM NEXT A wireless, connected to the router, wireless SSID name:ISAP,password:autosvs12345, (Same as router setting, After setting the ICOM NEXT need to reconnect to vehicle) 3.BMW diagnostic PC connect to wireless router ISAP, you can start wireless diagnosis. 1.Configuration router 2.Configuration ICOM NEXT A 3.Same as the router configuration; 4.After ICOM NEXT configuration is completed, you need to reconnect, ICOM NEXT will automatically open the WLAN connection function; 5.Connect ISAP WIFI; 6.After the ISAP WIFI connection is successful, you can use the ISTA diagnostic test