OK, got some more testing done with the GM Tech 2 and TIS 2000 program:
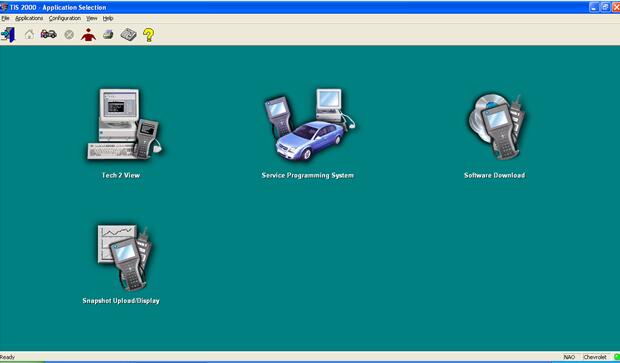
Tech 2 View:
The snapshot I did above was power train only, there is also a body and chassis menu to do snapshots, have not tried them.


Computer representation of car diagnostic scanner Tech 2 Screen.
You can control Tech 2 with computer keyboard.
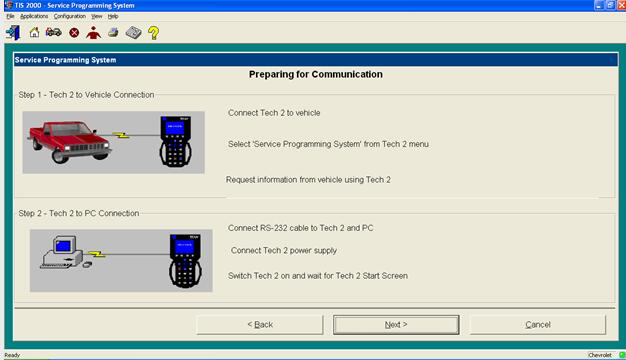
Service Programming System:

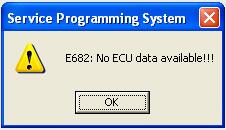
If you forget to put security key in PC.


With security key connected.


Not actually connected to car.
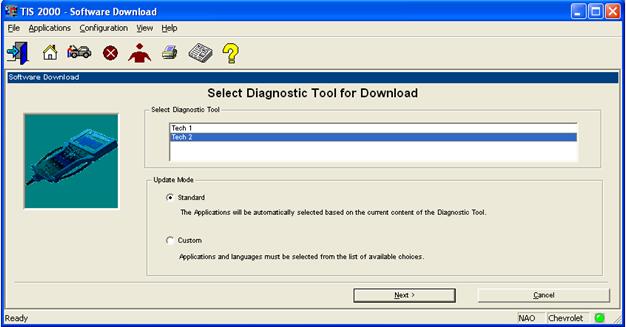
Software Download:

Selected Tech 2.

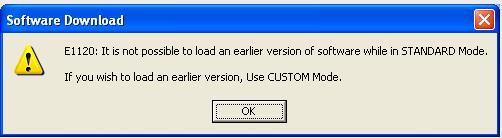
Do not load as version will be downgraded from the English GM 33.004 I am running.
Snapshot Upload Display:

Select Upload from Handheld.

Select Tech 2.

Upload started.

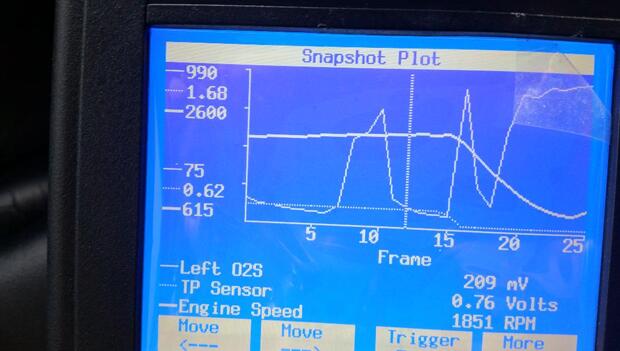
Data screen from snapshot.

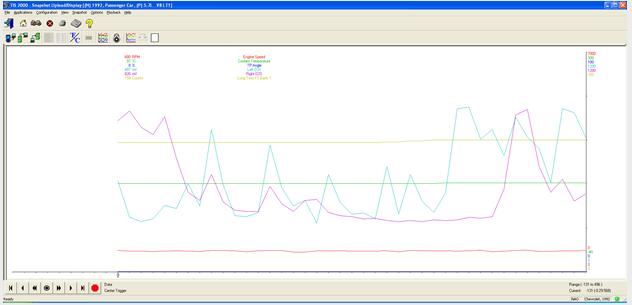
Selected parameters for 6 line graph. Tech 2 limited to 3 parameters for graphing.

Tech 2 graph from snapshot.

Service ASR on during snapshot capture, went out next time car started.
Tech 2 View:
The snapshot I did above was power train only, there is also a body and chassis menu to do snapshots, have not tried them.
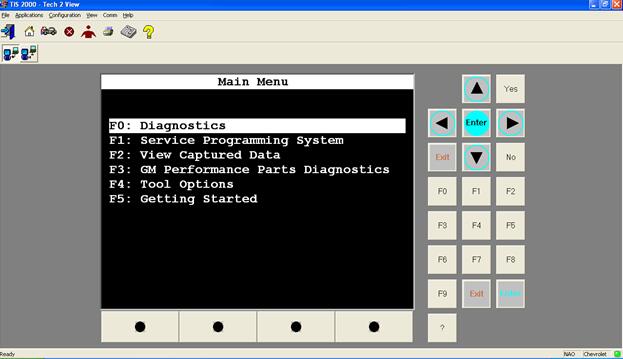
Computer representation of car diagnostic scanner Tech 2 Screen.
You can control Tech 2 with computer keyboard.
Service Programming System:
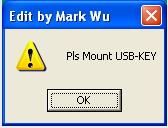
If you forget to put security key in PC.

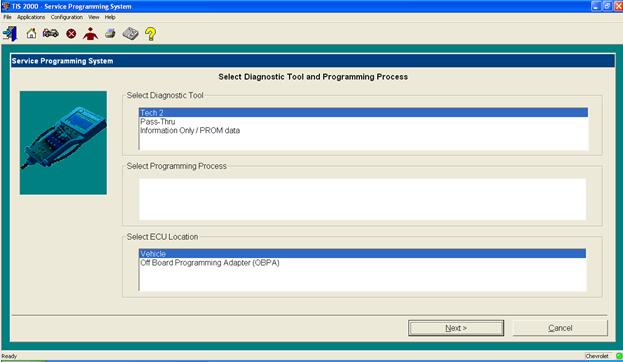
With security key connected.
Not actually connected to car.
Software Download:
Selected Tech 2.
Do not load as version will be downgraded from the English GM 33.004 I am running.
Snapshot Upload Display:
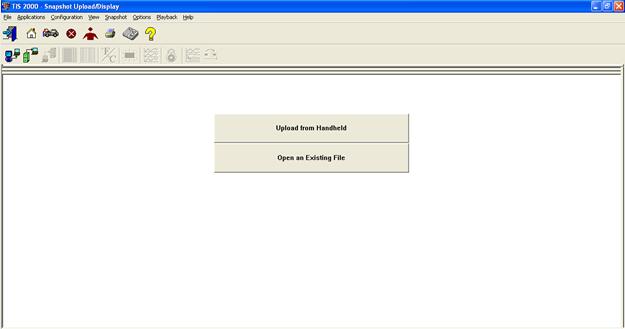
Select Upload from Handheld.
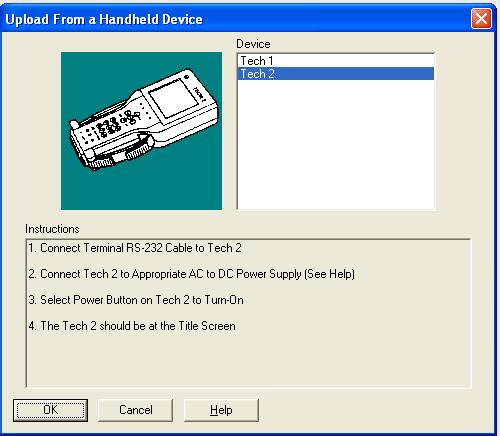
Select Tech 2.
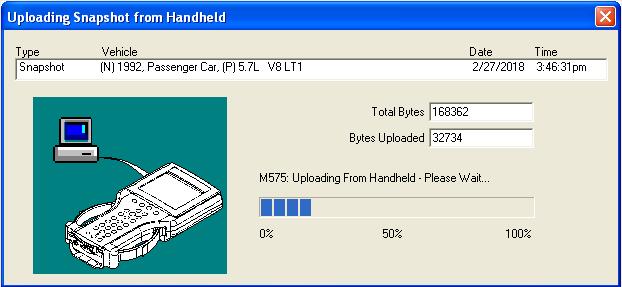
Upload started.
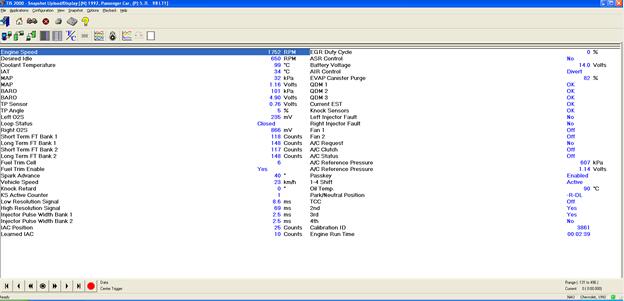
Data screen from snapshot.
Selected parameters for 6 line graph. Tech 2 limited to 3 parameters for graphing.
Tech 2 graph from snapshot.
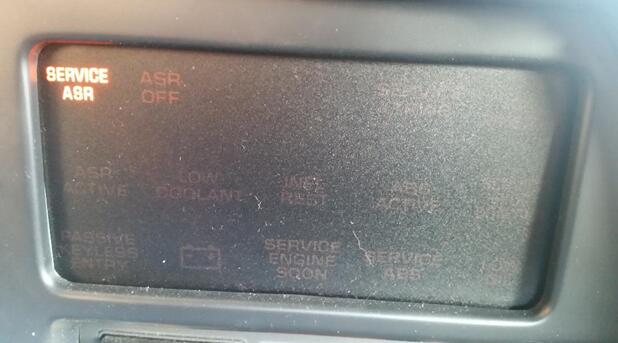
Service ASR on during snapshot capture, went out next time car started.
Comments
Post a Comment