Autel scan tools cannot sent files directly to a wireless printer.
Instead, you need to install software onto a computer which the scan tool will use as a gateway to print.
Installing the MaxiSys software suite from the Autel
The drivers for the Autel J2534
and PC Link for wireless printing are included in the MaxiSys software suite.
MaxiSys software suite downloaded using the following link:
https://www.autel.com/u/cms/www/201910/20195355jpax.zip
MAC version:
https://www.autel.com/u/cms/www/201910/20190710amfp.zip
If the links do not work you can go Autel support page and download the Maxi PC Suite.
https://www.autel.com/download
Use this video to help guide you through the process
Video overview: https://youtu.be/eF302Dyy-0o

Troubleshooting Print setup
Is the Autel unit on the same wireless network as the Computer with the install software?
Verify the MaxiSys software suite is running? The easiest way to check
the system tray at the bottom right on the task bar for the Maxisys
Printer Icon.
It is supposed to auto run on start up but some
antivirus programs and security settings will prevent this. If the
program is not running, start it and try to print again.

Is there a current, working version of Adobe Acrobat on the computer with the Autel PC-Link software?
If this is the first time trying to print and the Autel is failing to
find a computer with installed PC-Link software, restart both the PC and
Autel and try again.
If you are still unable to connect to any
computers for printing, you may need to contact your local IT tech to
ensure your tablet and PC are connected and there is nothing blocking
the connection
Printing from the Autel MaxiSys
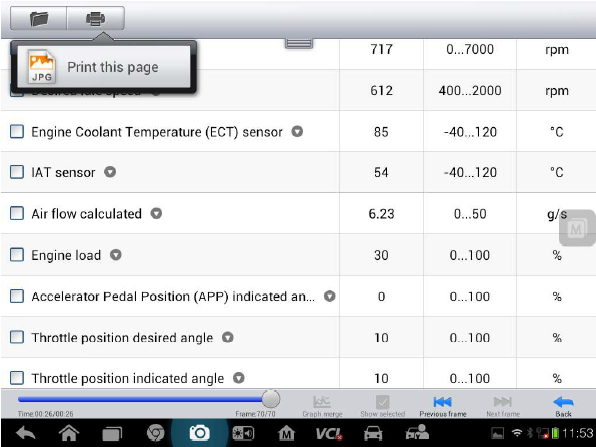
To Print a page, tap on the printer Icon and then select the print option.
If there is no option to print on the current screen, you can hold the camera button down (located at the bottom of the screen) to take a screen shot. You can then access the screen shot from the Data Manager icon, tap on Image, and tap on the image you wish to print and then use the print button at the top of the screen.
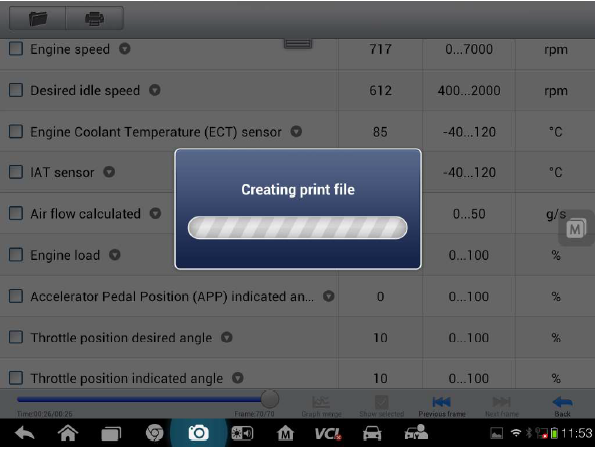
After tapping the print option, you should see the "Creating print file" dialog box.
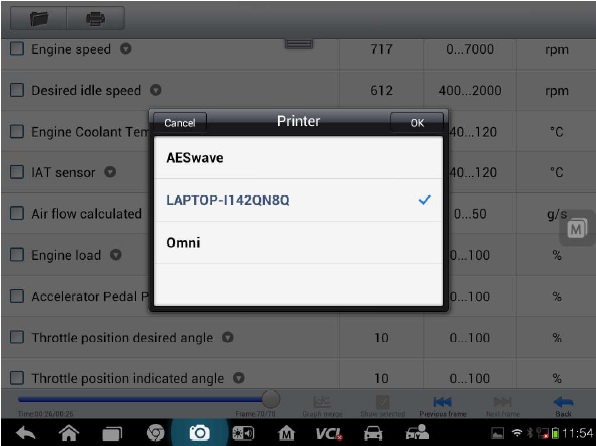
You may be asked to select a "Printer", which is simply the name of the computer, if there is more than one computer running the PC Link software. Tap to select a computer destination which will be indicated by the blue check mark. Then press, "OK"
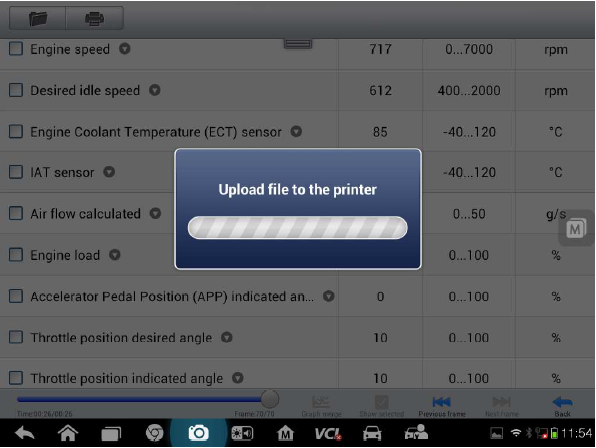
The "Upload file to the printer" dialog box should appear for several seconds, and will disappear when the file is transfer to the computer.
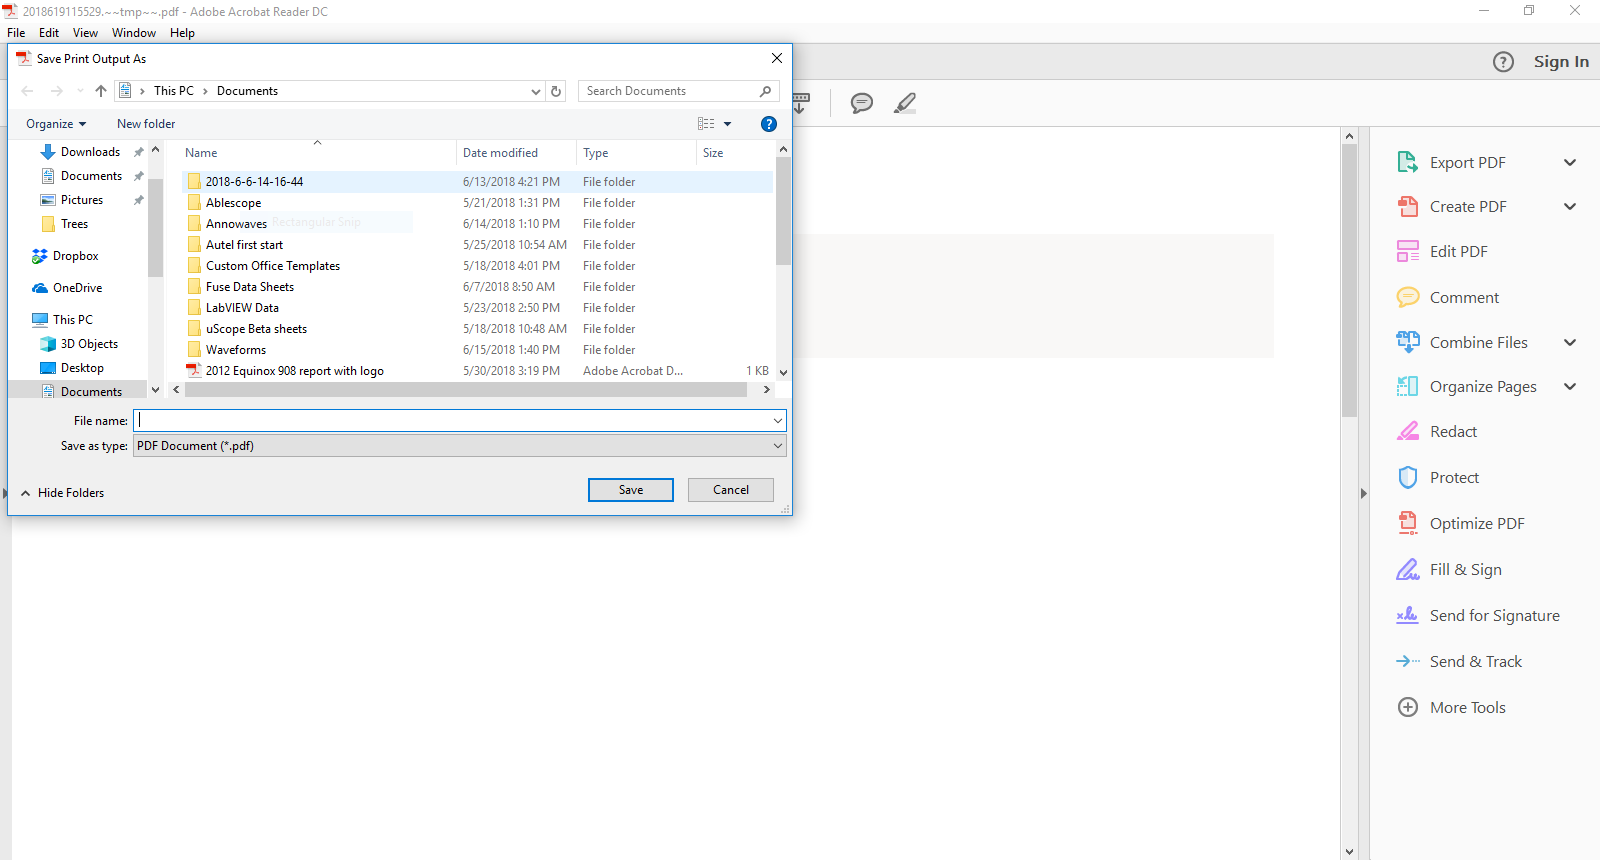
By default PC Link will automatically send the document to the printer. You can open PC Link and select the option to send it as a PDF with Adobe reader program and you will be asked to enter a file name and save the file. After saving, you can open and printer the file using the Adobe DC or Acrobats print function.
_____________________________________________________________________
Requirements the Autel MaxiSys Printer app for Windows:
A computer connected to the same network (wired or wireless) as the Autel unit
Win7 Extractor or WinRAR (The Autel file is downloaded in a .ZIP format and must be extracted)
A restart is required after installation
Steps to install Autel MaxiSys Printer app on your PC:
Direct link: http://support.autel.com/support/solutions/folders/8000079030
If the direct link does not work
Open your browser and navigate to > https://www.auteltech.com/
Near the top right, click on > Support & Updates
Click on Firmware and Downloads
Click on Update Client
Locate "Maxi PC Suite" and click Download Here.
For the Maxisys choose the file named: Maxisys PC Suite.
After downloading:
Navigate to your downloads folder
Create a new folder and name it Autel
Locate the file MaxiSys PC Suite.zip and extract the file to the new folder you named Autel
Open the folder and Double click the file AutoRun
Click YES if your computer prompts you to allow or block the program
Select to install MaxiSYS Printer and install will start
Follow on screen instructions to complete install and restart windows
After restarting, if computer prompts you to allow or block incoming connections for the Autel program, click ALWAYS ALLOW
You should now be able to print any single page or entire report from your Autel device by selecting the print icon in the top right of the MaxiSYS app pages
Comments
Post a Comment